
Last updated November 15, 2026
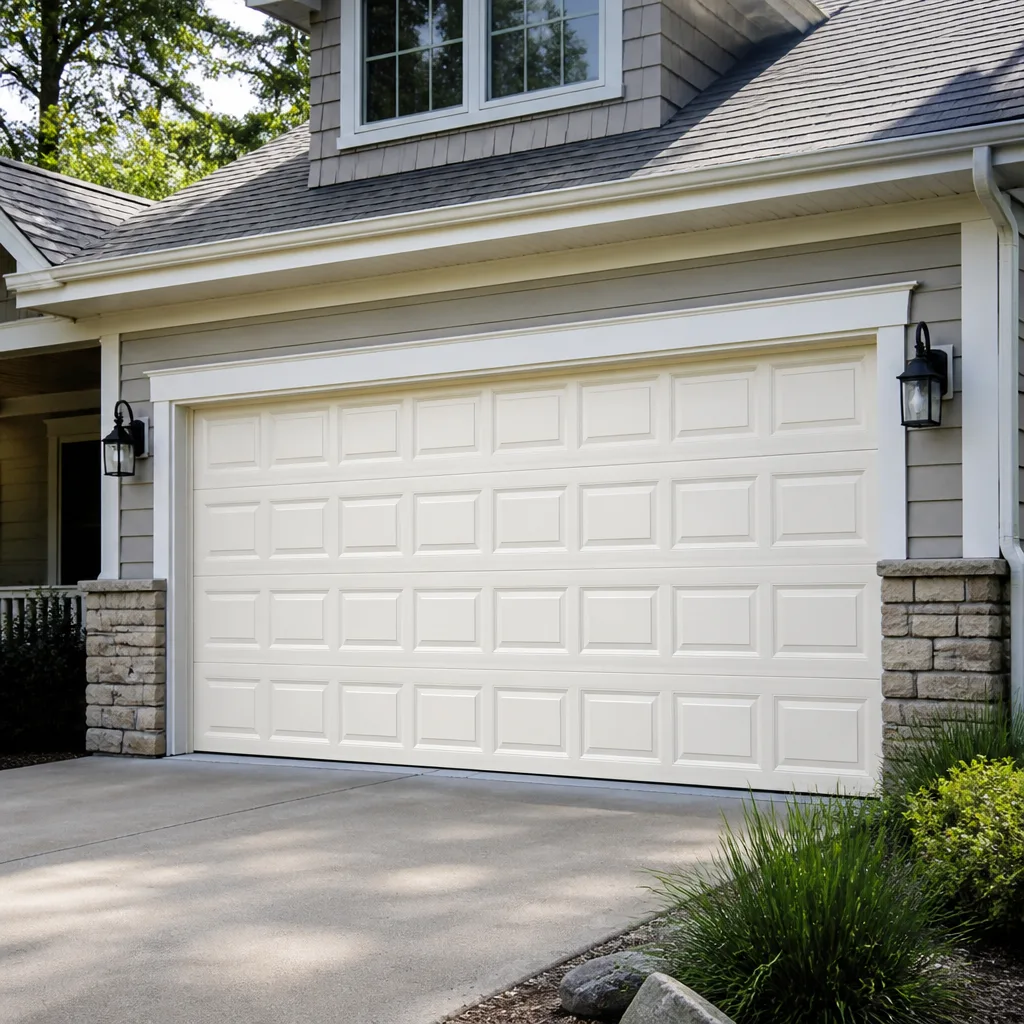 Raised-panel steel
 Carriage house
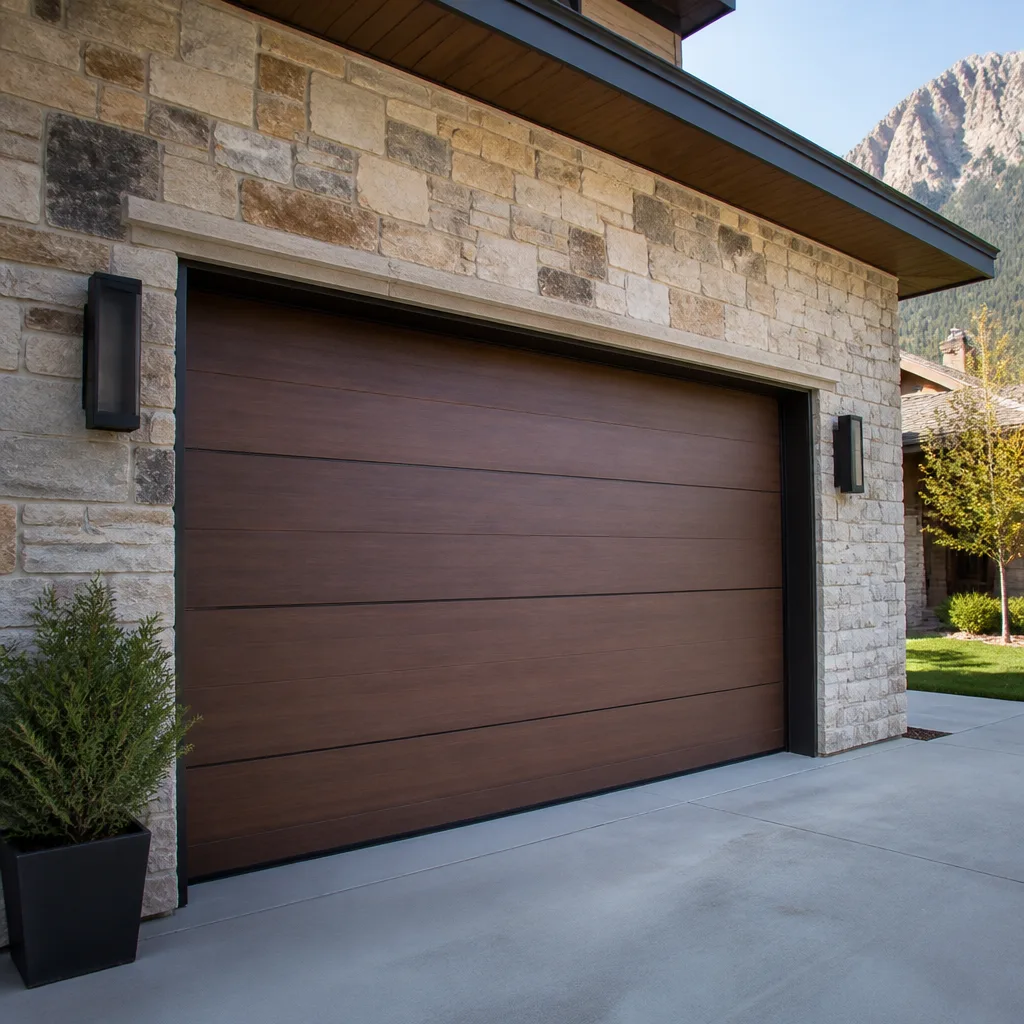 Modern flush
 Full-view glass
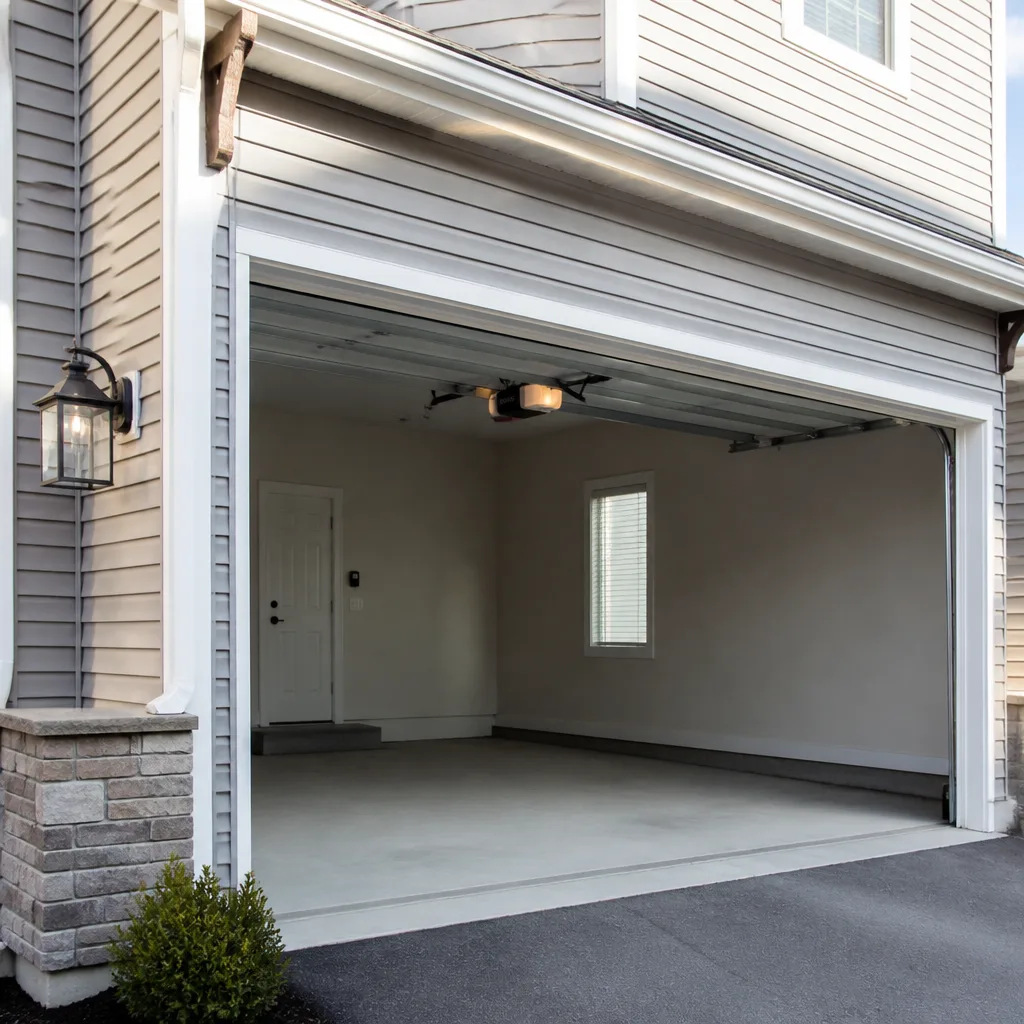 LiftMaster openers
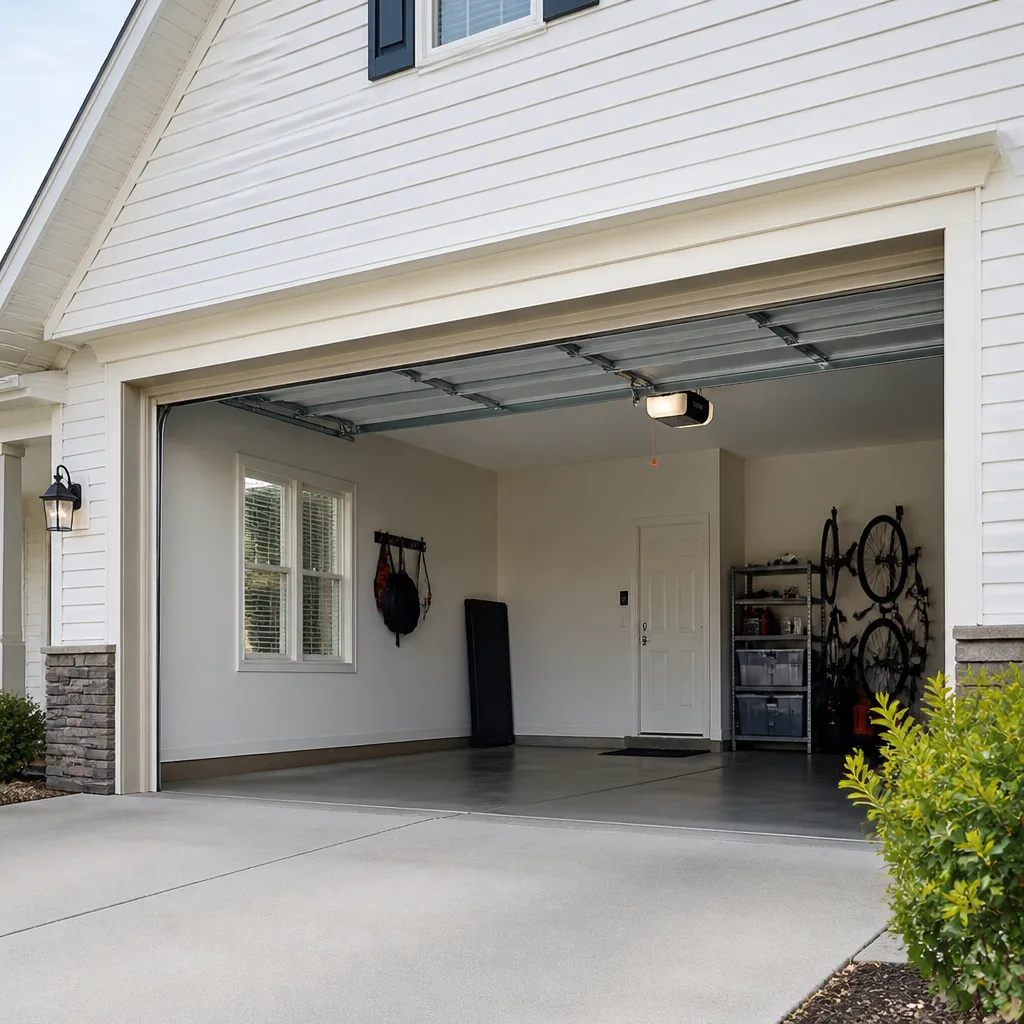 Chamberlain openers
Full 25-point door and opener safety check with every visit - springs, cables, rollers, tracks, and your LiftMaster or Chamberlain opener included
You get a price before we start. It does not change when the pro arrives.
Get your free estimateDIY vs Professional Garage Door: The Detroit Homeowner’s Decision Guide
Replacing a bottom seal yourself is a reasonable afternoon project. Adjusting torsion spring tension yourself is a different animal entirely: those springs sit at the highest tension in any residential system, and Detroit’s older double-car garages use some of the stiffest configurations still in service. The DIY-versus-pro question isn’t really about how handy you are. It’s about which tasks carry consequences you can absorb and which ones you can’t. This guide breaks the whole job down task by task, explains what makes a Detroit garage different from newer construction, and shows you how to scope a repair so you can judge a contractor’s recommendation instead of just accepting it.
Quick Answer
You can safely handle cosmetic and low-tension garage door work yourself: seals, weatherstripping, lubrication, tightening loose bolts, and cleaning photo-eye lenses. Anything involving the springs, cables, bottom brackets, or the high-voltage side of the opener should go to a trained technician, because those parts hold dangerous stored force. For a Detroit homeowner, the smart split is DIY for maintenance and safety checks, professional for anything that moves the door’s weight or keeps it hanging.
Styles & brands we work with
- Raised-panel steel
- Carriage house
- Modern flush
- Full-view glass
- LiftMaster openers
- Chamberlain openers
Table of Contents
- The Task-by-Task Risk Matrix
- The Three DIY Jobs That Are Genuinely Worth Doing
- Why Older Detroit Garages Create Extra DIY Risk
- What Self-Performed Structural Work Can Mean for Your Insurance
- How Detroit Weather Tests Your Door Year-Round
- How to Scope the Job Before You Call Anyone
- The Safety Line You Should Never Cross
- When to Call a Professional
The Task-by-Task Risk Matrix
Blanket advice is useless here. Some garage door jobs are a screwdriver and ten minutes. Others will break a wrist if you get one thing wrong. Here’s how we think about the work in the field, broken into three tiers by physical risk, tool requirement, and warranty consequence.
Tier 1: Low Risk, DIY-Friendly
- Replacing the bottom seal or weatherstripping – low physical risk, minimal tools, no warranty concern. This is the single best DIY job on the whole door.
- Lubricating springs, rollers, and hinges – no disassembly, no tension release. A can of proper garage door lubricant does real good here.
- Tightening loose bolts on the track brackets and hinges – hand tools only, as long as you don’t overtighten and strip the hardware.
- Cleaning and re-aligning the photo-eye lenses – a common cause of a door that reverses on its own. Safe to check and wipe down.
- Rebalancing a door’s sensitivity on the opener (the force adjustment) – only if the manual walks you through your exact model.
Tier 2: Medium Risk, Pro Recommended
- Replacing rollers and hinges – the door must be fully supported and the springs left under tension. Doable by a careful homeowner, but one slip and the door can come out of the track.
- Straightening a bent track section – a bent track usually means a misaligned door, and forcing it can crack a panel or throw the whole system off plumb.
- Replacing opener logic boards or drive gears – the electronics are low voltage, but a wrong part on a modern LiftMaster or Chamberlain unit can brick the whole board.
Tier 3: High Risk, Professional Only
- Torsion spring replacement or adjustment – these springs store enough energy to lift the entire door. This is where the serious injuries happen.
- Extension spring replacement – still under tension, still unforgiving if the safety cable or the mounting point gives way.
- Cable replacement – cables are the parts doing the actual lifting, and a snapped cable whips with real force.
- Bottom bracket and drum work – the bottom corner bracket carries the cable load under tension at all times.
- Panel replacement on a door with a broken spring – you can’t safely lift or support a panel that the springs aren’t holding.
- Anything touching the opener’s 120-volt wiring – leave the electrical side to a licensed trade.
The pattern you’ll notice: everything in Tier 3 stores or releases force. Tightening a bolt is a matter of torque. Releasing a spring is a matter of knowing exactly how much force you’re removing and how fast. Those are not the same problem, and treating them the same is how people get hurt.
The Three DIY Jobs That Are Genuinely Worth Doing
We’d rather you save money where it counts and spend it where it matters. For a Detroit homeowner willing to follow a manual and use the right tools, three jobs are worth doing yourself, and they’ll keep a door running years longer between service calls.
- Replace the bottom seal once the weather strips away. The seal touches the slab every time the door closes. In Detroit that slab sees snow melt, road salt tracked in from the driveway, and a hard freeze every winter, so the seal hardens and cracks faster than it would in a milder climate. A new seal keeps water out of the garage, keeps cold air from pouring under the door in January, and keeps mice out. It’s a screwdriver job, and the replacement comes in a length you trim to fit.
- Lubricate every moving surface on a schedule. Springs, hinges, rollers, and the track contact points want a proper garage door lubricant, not WD-40 (which cleans but doesn’t stay behind to protect). It’s a ten-minute job a couple of times a year. It won’t fix a failing bearing, but it will delay the day it becomes a problem.
- Rebalance the opener force and travel limits following the manual. A door that reverses on contact or stops halfway is often a self-diagnosis issue, and modern LiftMaster, Chamberlain, and Genie openers let you re-run the travel limits. This is the one opener task we’d call DIY-friendly, but only with the door’s own manual open in front of you.
Notice what those three have in common: none of them require releasing tension or supporting the door’s weight. Do those and leave the rest. You’ll save real money, and you’ll still be able to call a technician for the jobs that matter without feeling like you’ve already made a mess.
Why Older Detroit Garages Create Extra DIY Risk
Detroit has a lot of garages built between the 1920s and the 1970s, and those buildings don’t behave like the ones going up today. The differences aren’t cosmetic, they change how safe a job is when you’re standing on a ladder with a hand tool.
First, out-of-plumb openings. A garage that’s settled over a hundred winters will often have a header that’s dropped slightly on one side. Standard instructions assume the opening is square. On an out-of-plumb opening the track can’t hold a proper gap, the door will bind, and a homeowner following the manual will misdiagnose it as a track problem when the real issue is the frame. Adjusting the door against a settled frame is a good way to bend a panel or worse.
Second, mixed hardware generations. Detroit garages often carry a mix of hardware from different eras: an original heavy steel track, a set of modern hinges someone bolted on in the 1990s, and a newer spring with mismatched gauge steel. That old Frankenstein hardware is actually one of the reasons we became fluent across eight major brands: we see Amarr panels on a Wayne Dalton track with a Raynor opener mounted on the ceiling, and none of it was ever designed to work together. A homeowner working off a single YouTube video is working off the assumption the system is standard, and on a Detroit garage it usually isn’t.
Third, non-standard spring configurations. Many older double-car Detroit garages were built with heavier-tension torsion systems or paired extension springs. When a spring configuration is off the standard chart, the wire gauge and spring length don’t match what the manual expects. If you order a replacement from a big-box kit, the winding count won’t line up, which is exactly the moment a careful DIYer ends up doing something dangerous without knowing it.
The climate testing in this city deserves a Detroit-specific mention too. The freeze-thaw cycles along the driveway, the road salt, and a winter that can outlast the weatherstripping all wear the door faster than a milder climate. That doesn’t make it less safe to work on. It just means the failure happens earlier, on hardware that may already be past its designed life.
How This Differs From Newer Construction
In a newer garage, the frame is square, the hardware is matched from the factory, and the spring configuration is on a standard chart. A homeowner with a clear manual can often complete a repair there with confidence. Detroit’s older stock takes the guesswork out of that equation, and guesswork is the exact thing that makes garage door work risky.
What Self-Performed Structural Work Can Mean for Your Insurance
This is the part most DIY guides skip. If you perform structural garage door work yourself – meaning the springs, cables, track, and the frame – and something fails afterward and damages the vehicle parked underneath, your homeowner’s insurance may treat that differently than a failure that came from normal wear. We’re not insurance adjusters, so we won’t quote you a policy clause. But it’s worth understanding the general pattern before you climb the ladder.
The core issue is causation. Insurance generally responds to sudden, accidental losses. When a loss traces back to a homeowner’s own repair that was done without professional standards, the claim can be complicated by questions of faulty workmanship and the contractor-vs-homeowner distinction. A failure with no human hand in it – a spring that fails after its service life – is a very different claim than a failure six weeks after a homeowner replaced the hardware themselves.
What Actually Protects You
- Professional service generally comes with a workmanship guarantee. A reputable local door company should stand behind the installation in writing. Ask for that in clear terms before the work starts.
- Licensed and insured technicians carry their own liability. If they damage the door, the frame, or your vehicle in the process, their coverage responds, not your homeowner’s policy.
- Documentation matters. A written invoice with the brand, part number, and install date makes a warranty or insurance claim far easier to resolve years later.
You’ll want to ask your insurer directly for their position on the specific work; policies vary widely. The guide doesn’t know your deductible or your insurer’s clause requirements. The point is simply: structural garage door work is the category where the DIY savings are smallest relative to the downside. Cosmetic work is a different calculation entirely.
How Detroit Weather Tests Your Door Year-Round
Detroit’s seasons are hard on garage doors in a way that’s easy to underestimate when you’re standing in a warm garage in July. The testing happens across the whole year, not just in a cold snap.
Winter puts the seal, the bottom bracket, and the rollers under the most stress. Road salt tracks off the driveway and onto the door’s lower panels. Freeze-thaw cycles open small cracks in the seal and let water settle behind it. A door that’s used several times a day through the winter can open and close thousands of cycles per season, and every one of those cycles works the springs a little harder than a door sitting in a milder climate.
Summer introduces a different set of stresses: heat softening the seal, expanding the door panels slightly, and stressing the opener’s drive belt or chain. A belt that works fine in February can start to squeal in July. Neither the winter nor the summer makes a DIY job safer or more dangerous on its own. What they do is accelerate the wear on hardware that may already be near the end of its life, which is why the checklist below should happen a couple of times a year.
A Two-Minute Seasonal Check You Can Do Yourself
- Run the door up and down once and listen for grinding, popping, or uneven speed. Any of those means something’s binding.
- Check the bottom seal against the slab. If daylight shows under the door at any point, the seal is failing.
- Look at the springs. Rust streaks on the spring wire are a warning sign, not necessarily a failure, but they mean a technician should inspect it.
- Wipe the photo-eye lenses clean and check the safety reversal with a small object in the door’s path.
- Pull the manual release cord only to confirm it moves freely. Don’t operate the door by hand with the springs still under tension unless you’re trained to do so.
If any of those checks shows a real problem, that’s the moment to call rather than push harder. The earlier the call, the smaller the repair in our experience, and that’s true in Detroit as anywhere.
How to Scope the Job Before You Call Anyone
This is the single most useful thing in this guide. Most homeowners can’t tell whether a contractor’s recommendation is honest because they don’t know what the technician is seeing. Scope the job yourself first and you can have a conversation instead of accepting a quote on faith.
- Watch the door execute a full cycle with the opener. Note any point where it hesitates, speeds up, or bounces. That’s usually the exact location of the problem.
- Check the door’s balance by hand, safely. Only after you’ve disconnected the opener and only if the door operates freely. A properly balanced door should hold at roughly its halfway point. If it wants to fall or rise, the springs are out of balance.
- Look at the springs for rust streaks, gaps, or a visible break. A torsion spring with a visible break in the coil has failed. A spring that’s still whole but rust-streaked should be inspected.
- Open the opener housing only to read the model label. Don’t touch the board. Note whether it’s a LiftMaster, Chamberlain, Genie, or other brand, and write down the model number. That one fact narrows the diagnosis dramatically.
- Photograph the entire track, spring plate, opener label, and any damage. This lets you hand a technician a complete picture and lets you compare what two companies say about the same evidence.
- Write down what you’ve already checked yourself. A technician who respects that will confirm or correct it, not talk over it.
When you call a contractor, ask three questions: what brand is this system, what specifically failed, and what’s the alternative to the repair you’re recommending. A technician who can name the brand, explain the proof, and offer a real alternative is the one to trust. If the answer is always “we’ll need to replace the whole door,” that’s a sign to get a second opinion. Your garage door repair call should end with a diagnostic answer, not a sales pitch.
The Safety Line You Should Never Cross
We’re careful about this because we’ve seen how bad it gets. The torsion spring on a residential door stores enough mechanical force to lift the full weight of the door, and it does so with metal wire under extreme tension. Removing or adjusting that tension without training and the right winding bars is the single most common cause of serious garage door injury in the residential trade.
So the safety line is simple: the springs, cables, bottom brackets, and drums are all professional work, not DIY work. That’s not a sales recommendation; it’s the same line every safety authority and manufacturer draws. If you take nothing else from this guide, take that. The bottom seal, the lubrication, the visual checks, and the photo-eye wipe-down are all safe. The moment the job requires releasing stored force, call a trained professional.
The same caution applies to the opener’s electrical side. Modern LiftMaster and Chamberlain openers run on 120-volt line voltage into a transformer, and a careless hand in the housing while the circuit is live is a different hazard entirely. Leave the electrical side to a licensed electrician or a garage door technician trained on the unit.
Our technicians have up to 14 years of experience, and the reason we talk about the safety line so plainly is that we’ve seen what happens when it’s crossed. That experience is the reason we can diagnose a tricky repair or a full replacement without guesswork. If your door is in a half-solved state, we’d rather answer the diagnostic question first and quote after. That’s what Vantage Garage Door Repair is built around: a vantage-point assessment that finds the immediate failure and whatever else is under stress, so the repair lasts.
Common Mistakes to Avoid
- Assuming a door that won’t close means the opener failed. More often it’s a photo-eye misalignment, a worn seal dragging, or a spring that’s out of balance. Replacing an opener to fix a bad spring is the classic overspend, and our garage door opener repair technicians see it every week.
- Fueling a stuck spring with WD-40. It cleans, but it doesn’t stay behind to protect. Use a proper garage door lubricant on springs, hinges, and rollers, and never on the bottom seal.
- Releasing a torsion spring without winding bars and training. This is the mistake that lands people in the emergency room. No video substitutes for the actual tools and technique.
- Working off a generic video on a Detroit garage. Older out-of-plumb openings and mixed hardware generations mean the manual for a modern door often doesn’t apply. Confirm what system you actually have before you touch it.
- Reading a rust streak as a failed spring (or the reverse). Rust is a warning sign, a visible break in the coil is a confirmed failure. Don’t treat them the same when you’re diagnosing.
- Doing structural work without calling your insurer first. Insurance responds to sudden accidental losses, and a diagnosis of faulty homeowner workmanship complicates that response. Call your insurer with the question before the job starts.
- Skipping the seasonal check until something breaks. A two-minute look at the seal, springs, and safety reversal twice a year catches real failures while they’re small repairs.
See the difference
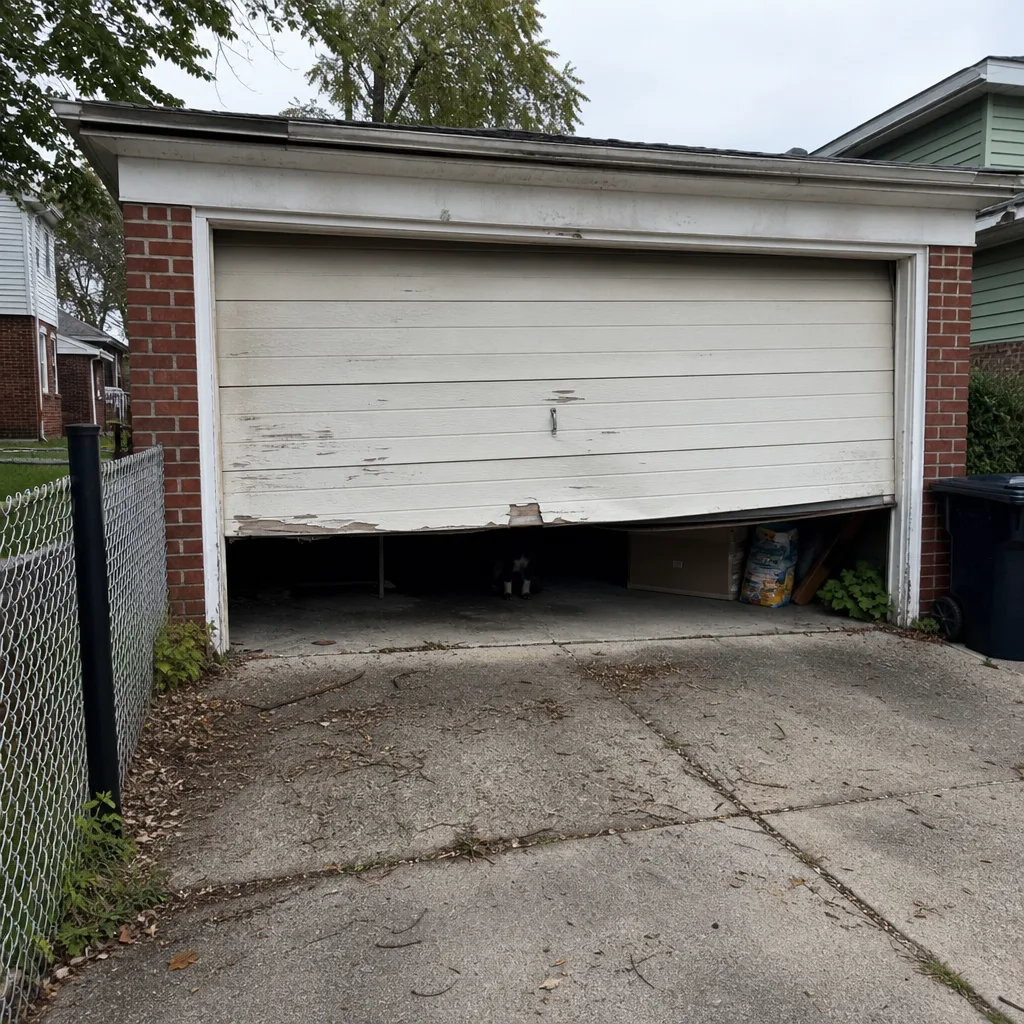 Before
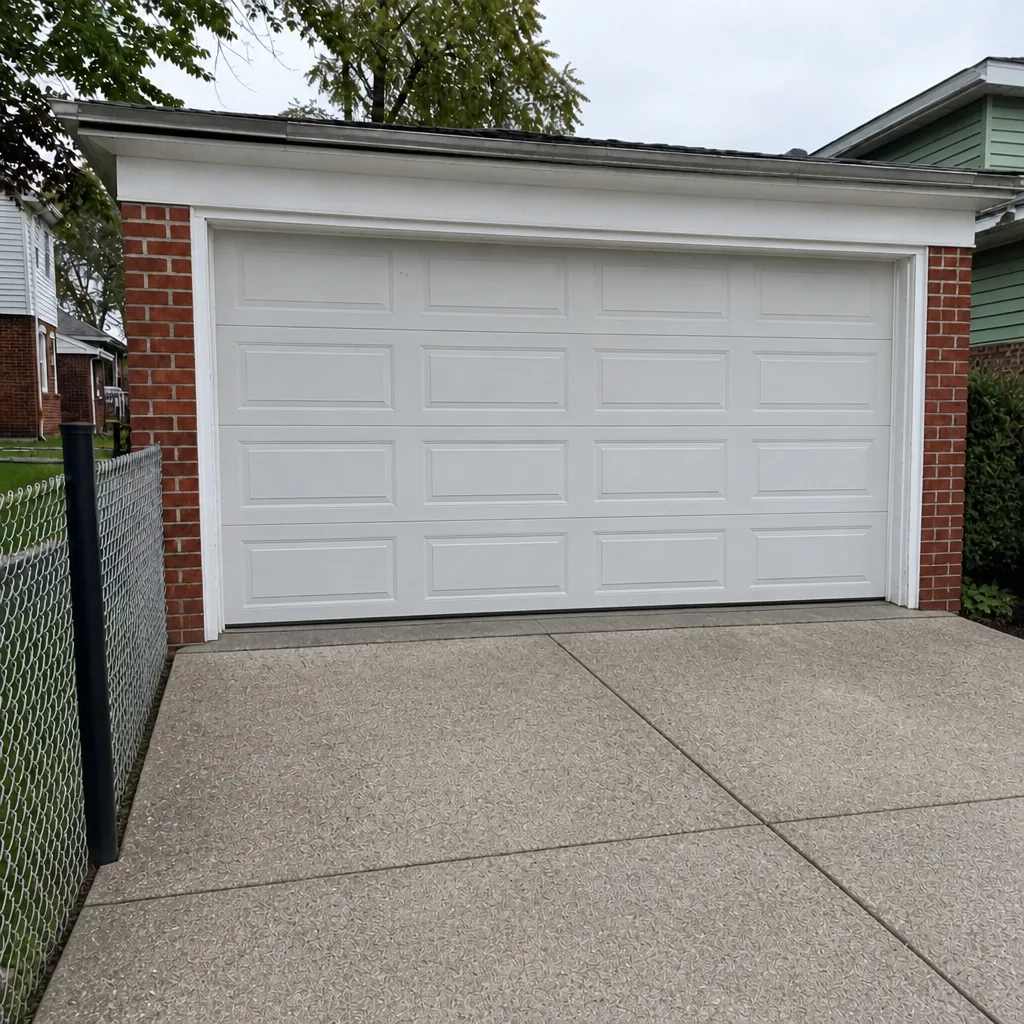 After
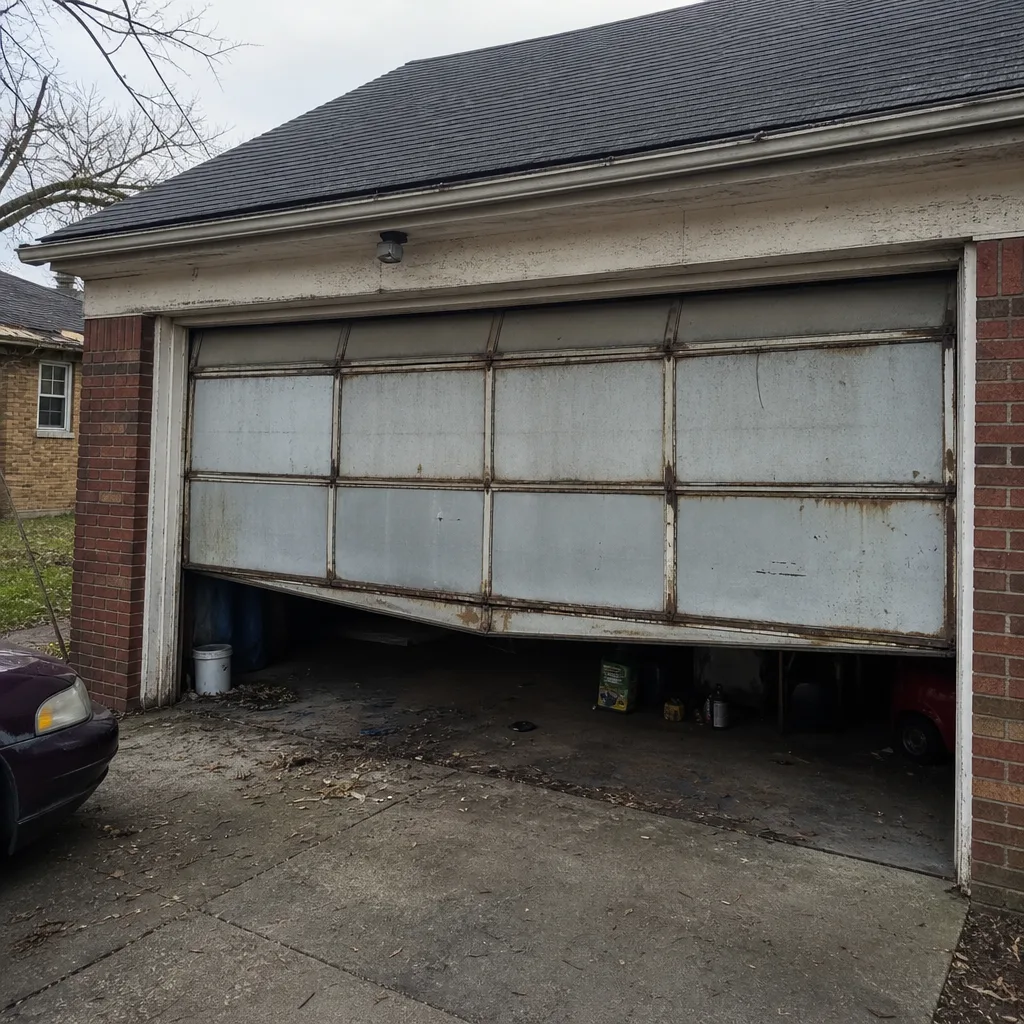 Before
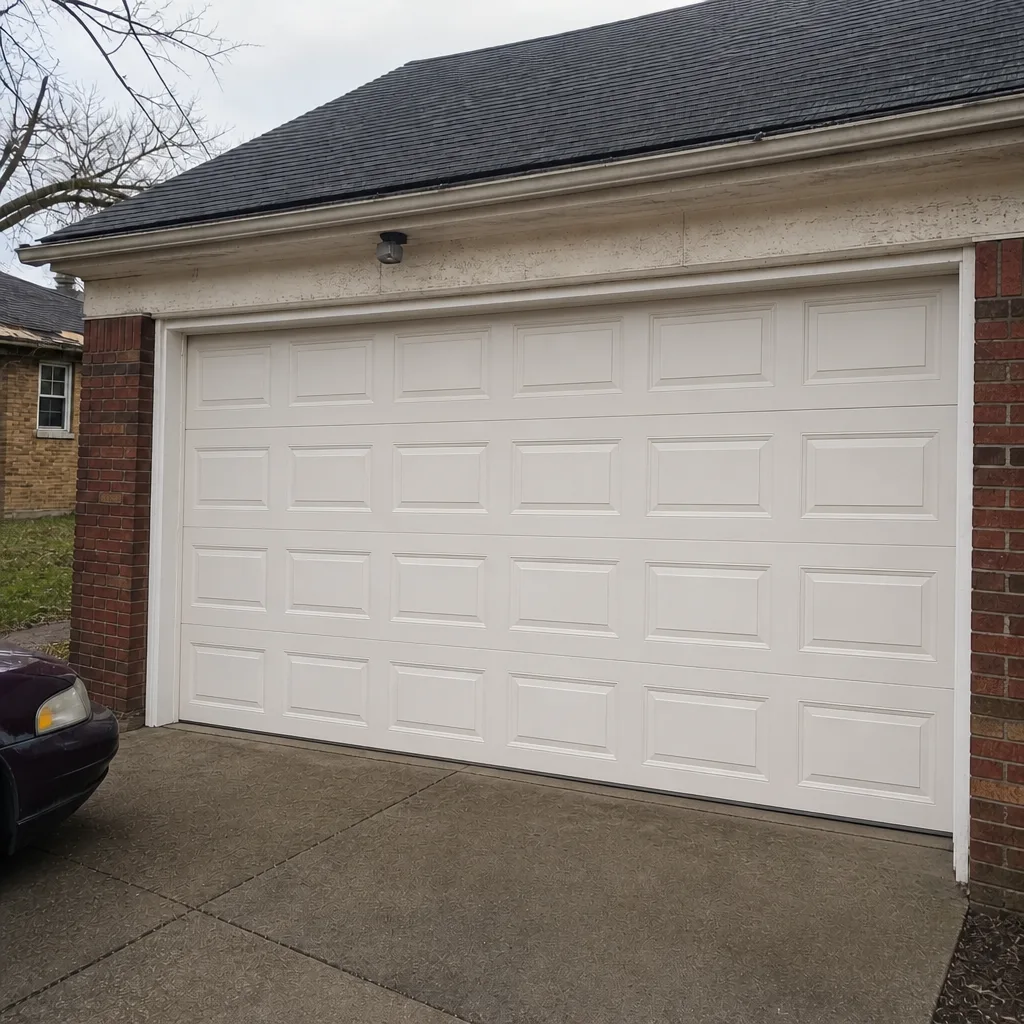 After
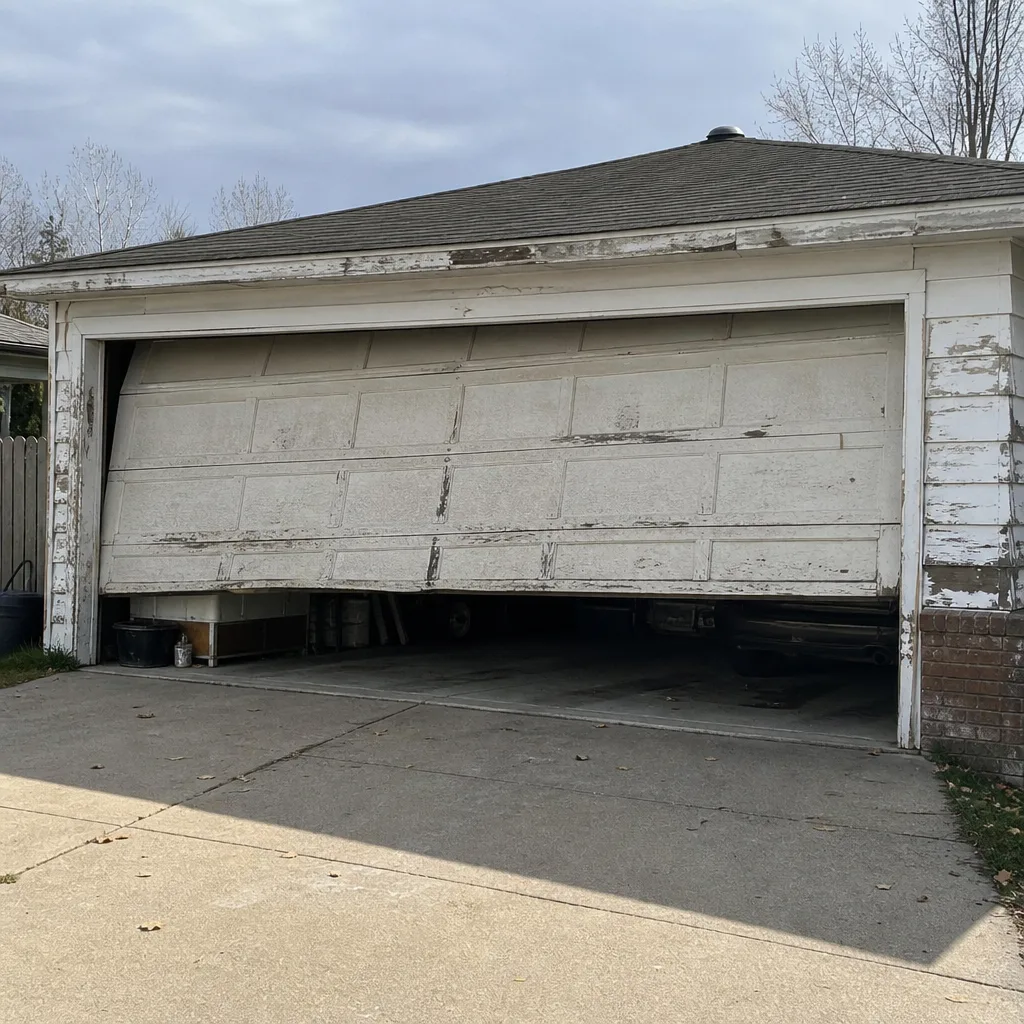 Before
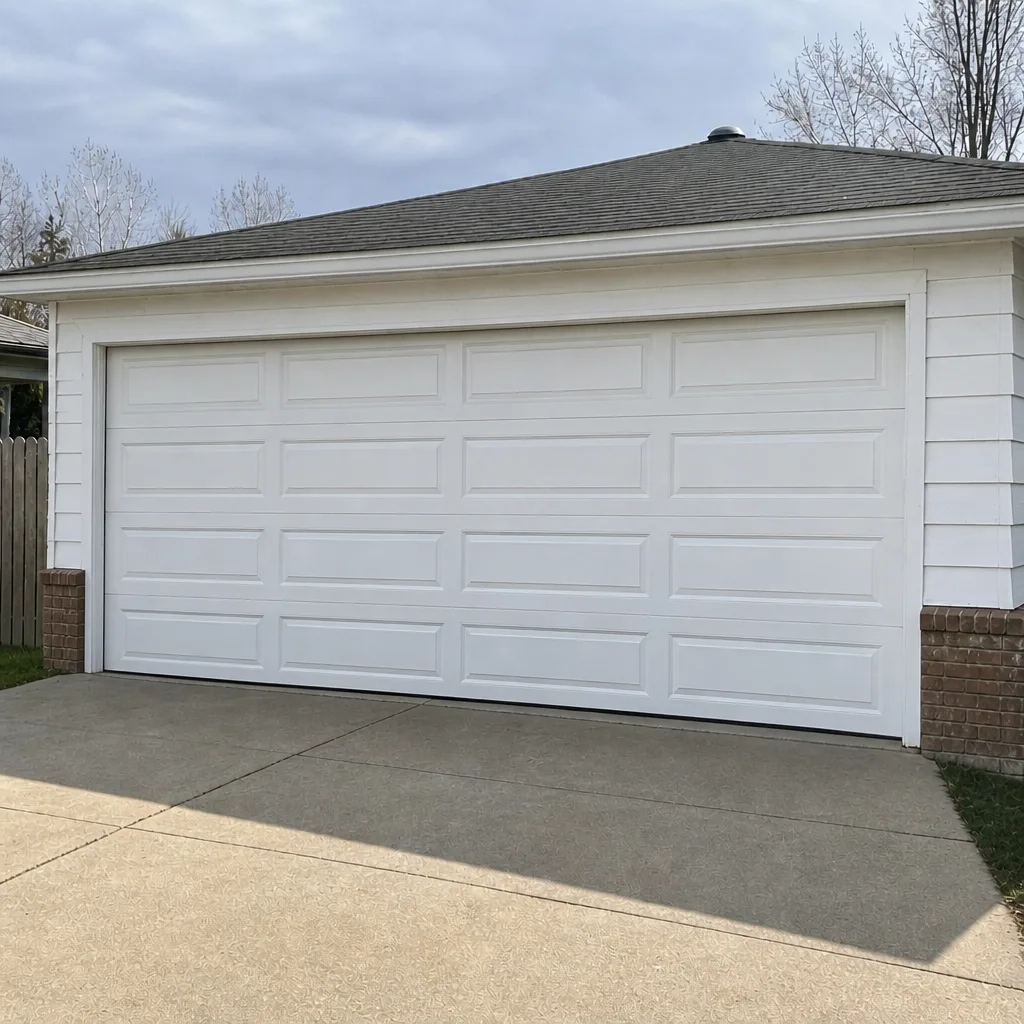 After
When to Call a Professional
Call a professional when the door won’t move, won’t hold position, or makes a noise that didn’t used to be there. Call when you can see a broken spring or a slack cable. Call when the opener runs but the door doesn’t move, or the door reverses on the way down, or the safety reversal checks don’t work. And call if the door is older than the surrounding hardware and you’re not sure what’s been replaced in the past. These are the situations where DIY can turn a repair into a replacement, which is the opposite of what you’re trying to do. Vantage Garage Door Repair offers free estimates in Detroit – call (888) 804-9214. We answer 24/7 with fast dispatch from 7am to 7pm, Sunday through Friday.
Frequently Asked Questions
Yes, replacing a garage door bottom seal is a safe and straightforward DIY job. The seal slides into a track or sits in a channel at the bottom of the door, and most replacements come in a length you trim to fit with hand tools. It’s the single best money-saving DIY job on the whole door, and it matters most in Detroit where winter wear on the seal is faster than in milder climates. If you’re not sure what size you need, call (888) 804-9214 and we can help you identify the right seal for your door.
No, adjusting or replacing torsion or extension springs is not a safe DIY job, and we don’t recommend it for any homeowner. The springs store enough mechanical force to lift the whole door, and older Detroit double-car garages often use higher-tension configurations than newer construction. Removing or adjusting that tension without training and winding bars is the most common cause of serious garage door injury. Call (888) 804-9214 for a free estimate and leave the springs to a technician.
It can. Most garage door and opener manufacturers tie their warranty to installation by a trained technician, and homeowner-installed parts or repairs can void coverage on the affected components. That’s especially true for springs, cables, and opener electronics where the manufacturer has a clear service standard. A written professional invoice with the brand and part number protects your warranty and makes any future claim far easier. Call (888) 804-9214 for an estimate and we’ll tell you what your brand requires.
We don’t quote prices over the phone, because the right number depends on what’s actually failed, the brand, and the age of the door. What we will do is give you a free on-site estimate and a written price before any work begins, so the number you agree to is the number you pay. The written estimate sets the final price, per job. Call (888) 804-9214 to schedule the free estimate.
We service the opener you already have. We’re fluent across eight major brands including LiftMaster, Chamberlain, Genie, Clopay, Amarr, Wayne Dalton, Craftsman, and Raynor, so there’s no brand-switch pressure. A technician diagnoses and repairs the existing unit where possible rather than pushing a replacement. Call (888) 804-9214 for an opener diagnostic and free estimate.
Older Detroit garages often have out-of-plumb openings, mixed hardware generations, and non-standard spring configurations, which means generic instructions written for modern construction don’t always apply. A settled frame can bind the track and cause a door to fail in ways a homeowner can’t see from the ladder. That’s not a reflection of the homeowner’s skill; it’s a reflection of the building. If you’re unsure what system you have, call (888) 804-9214 and we’ll walk you through it.
The Bottom Line
The DIY-versus-pro decision is about the specific task, not your general capability. Cosmetics, seals, lubrication, and visual checks are worth doing yourself, and they save real money. Anything that stores or releases mechanical force, or touches the opener’s electrical side, belongs with a trained technician. Detroit’s older garages raise the stakes because non-standard hardware and settled frames defeat the generic instructions most videos rely on. Scope the job before you call, ask the right diagnostic questions, and confirm the price in writing before anyone starts. That approach protects your wallet, your warranty, and your safety. When the job needs a professional, Vantage Garage Door Repair offers free estimates in Detroit – call (888) 804-9214. We answer 24/7 with fast dispatch from 7am to 7pm, Sunday through Friday.
Written by the team at Vantage Garage Door Repair.